
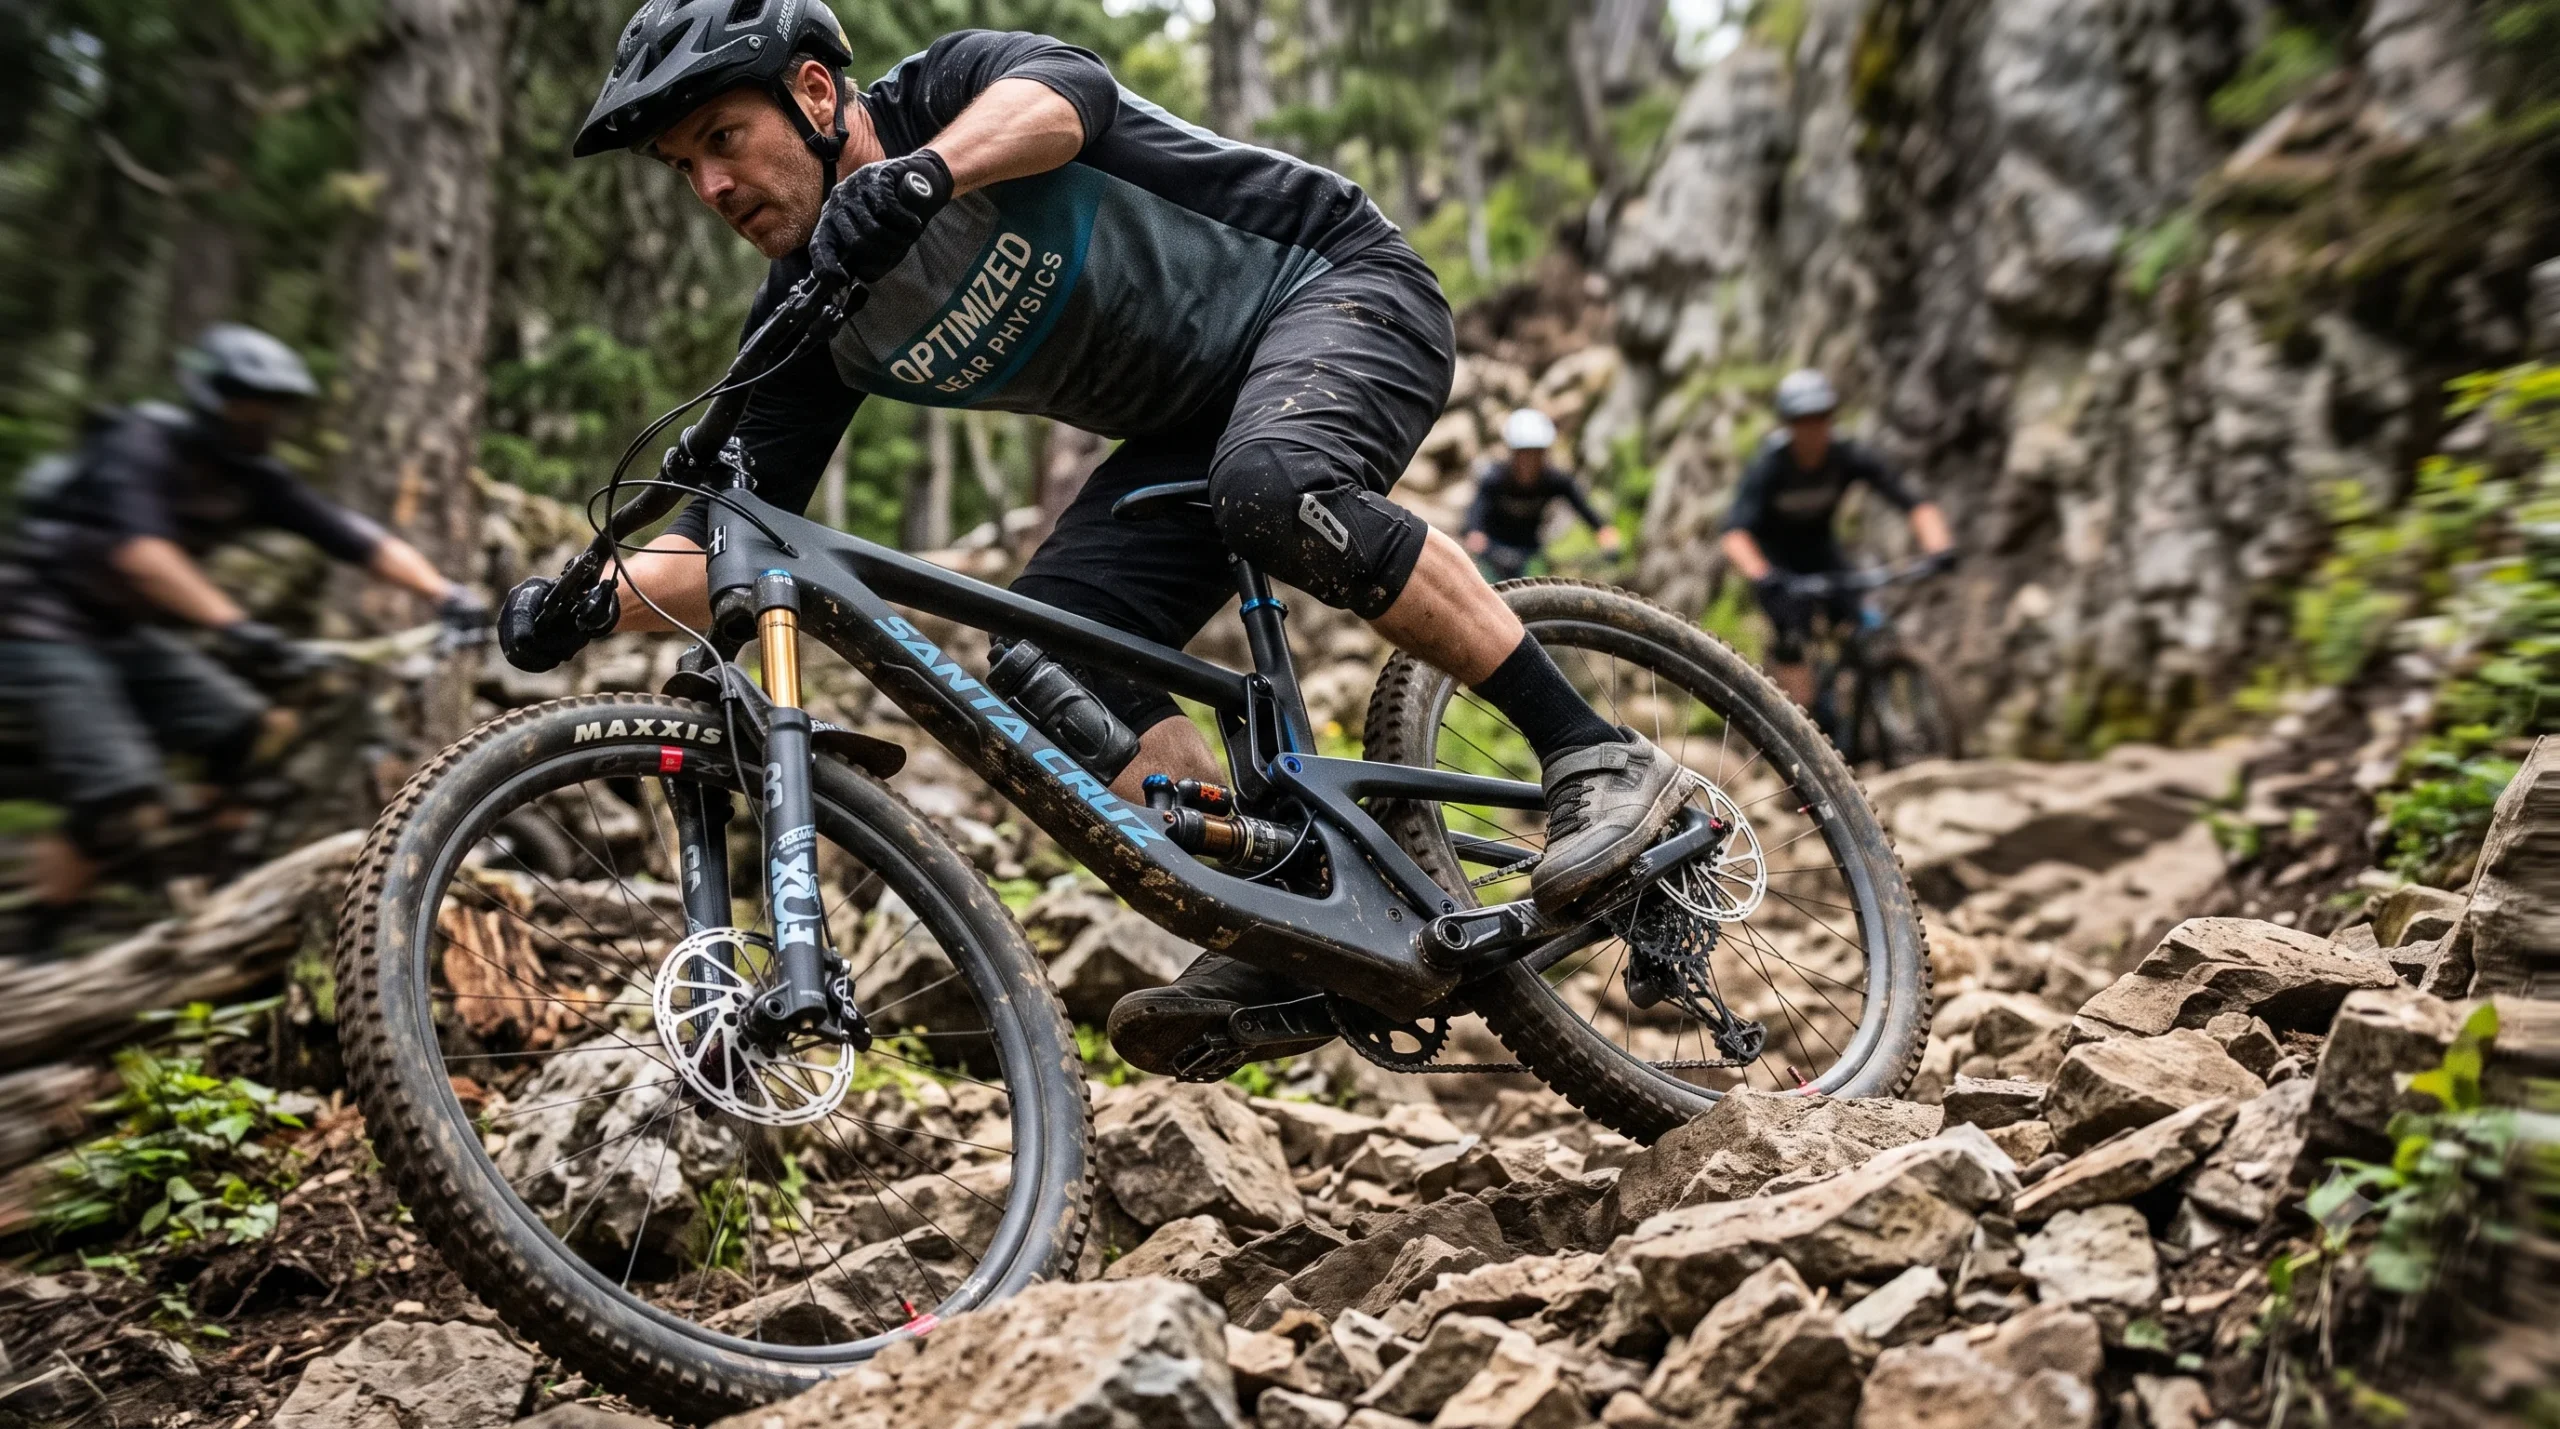
Stop taking trail harshness for granted. If your high-end rig is bucking you off rock gardens or bottoming out on harsh drops, you aren’t fighting bad luck—you’re fighting mismanaged kinetic energy. Improper suspension setup destroys your tires’ contact patch, turns momentum into physical fatigue, and wastes every dollar you spent on carbon fiber and high-end dampening.
Setting your sag to that critical 25–30% sweet spot isn’t a suggestion; it’s the foundational calibration required to keep your rubber glued to the dirt. Let’s fix your suspension dynamics right now.
The Physics Behind It: Kinetic Energy and Dynamic Traction
When your front wheel slams into a jagged rock at speed, your bike experiences an violent input of kinetic energy calculated as:
$$E_k = \frac{1}{2}mv^2$$
If your shock’s spring rate (air pressure in PSI) is tuned incorrectly, this energy manifests as structural recoil or immediate mechanical strain:
- Over-pressurized (Too Stiff): The spring resists initial displacement. Instead of converting kinetic energy into heat via dampening fluid friction, that impact energy transfers straight into your wrists, fatigue builds, and the rear wheel loses track contact (rebound displacement).
- Under-pressurized (Too Soft): The air spring lacks progressive force resisting compression. The shock blows through its travel, violently bottoms out against the bumper, and destabilizes the bike’s head tube angle mid-corner.
The Mechanics of Sag: Sag is the percentage of total suspension travel consumed by your static body weight in a neutral riding attack position. By setting a 25% sag, you create an essential reserve of negative travel. When your wheel rolls over a sudden dip or root cutout, the shock extends downwards into the depression rather than dropping the entire frame, maintaining continuous tire traction and dynamic control.
Interactive Tool Placeholder
MTB Air Pressure & Sag Simulator
Optimal suspension tuning based on rider weight & bike dynamics
Step-by-Step Troubleshooting: 3-Step Setup Guide
1. Dial in the Baseline Air Pressure (PSI)
Equip your gear (helmet, pack, shoes) to account for full riding mass. Open all compression and rebound dampers completely. Use a high-pressure shock pump to set your initial air pressure using the baseline table below as your reference point.
| Rider Mass + Gear (kg / lbs) | Target Sag (%) | Fork Pressure Starting Point (PSI) | Rear Shock Starting Point (PSI) |
| 60–68 kg (130–150 lbs) | 25% – 30% | 55 – 65 PSI | 145 – 160 PSI |
| 69–77 kg (152–170 lbs) | 25% – 30% | 65 – 75 PSI | 165 – 180 PSI |
| 78–86 kg (172–190 lbs) | 25% – 30% | 75 – 85 PSI | 185 – 200 PSI |
| 87–95 kg (192–210 lbs) | 25% – 30% | 85 – 95 PSI | 205 – 220 PSI |
Note: Suspension leverage ratios vary by frame design. Always verify with your frame manufacturer’s baseline tuning sheet.
2. Measure and Calibrate Static Sag
- Slide the rubber O-ring on the shock stanchion all the way against the wiper seal.
- Carefully mount the bike without bouncing, wearing your full riding gear, and assume your standard Attack Position (standing on pedals, knees and elbows slightly bent).
- Carefully dismount without compressing the suspension further.
- Measure the distance the O-ring moved from the seal. Divide this distance by the shock’s total stroke length (not wheel travel) to calculate your sag percentage. Add or release pressure in 5 PSI increments until you land precisely on 25% (for trail/enduro) or 30% (for downhill).
3. Balance Rebound and High-Speed Compression
Once static sag is locked in, cycle the suspension to balance air chambers.
- Rebound Dampening: Set your rebound so the shock springs back rapidly after a heavy compression without oscillating or lifting the tire off the ground.
- Volume Spacers (Tokens): If you hit proper 25% sag but still bottom out frequently on big impacts, add a volume token to increase ramp-up progression without sacrificing small-bump sensitivity.
Conclusion: Precision Calibration Yields Maximum Performance
Suspension tuning isn’t a set-it-and-forget-it convenience—it is an ongoing balance between rider weight, terrain geometry, and fluid mechanics. By establishing a true 25% sag baseline and matching your spring curve to your trail profile, you unlock the full engineering potential built into your high-end damping system. Get your shock pump out, measure your travel accurately, and experience the immediate difference in cornering speed and tracking stability on your next ride.
Master your gear physics by exploring more mechanical tuning guides in [Gear & Logic: Applied Physics and Mathematics], or calculate your ride settings in [Interactive Tools: Live Science & Engineering Calculators].