
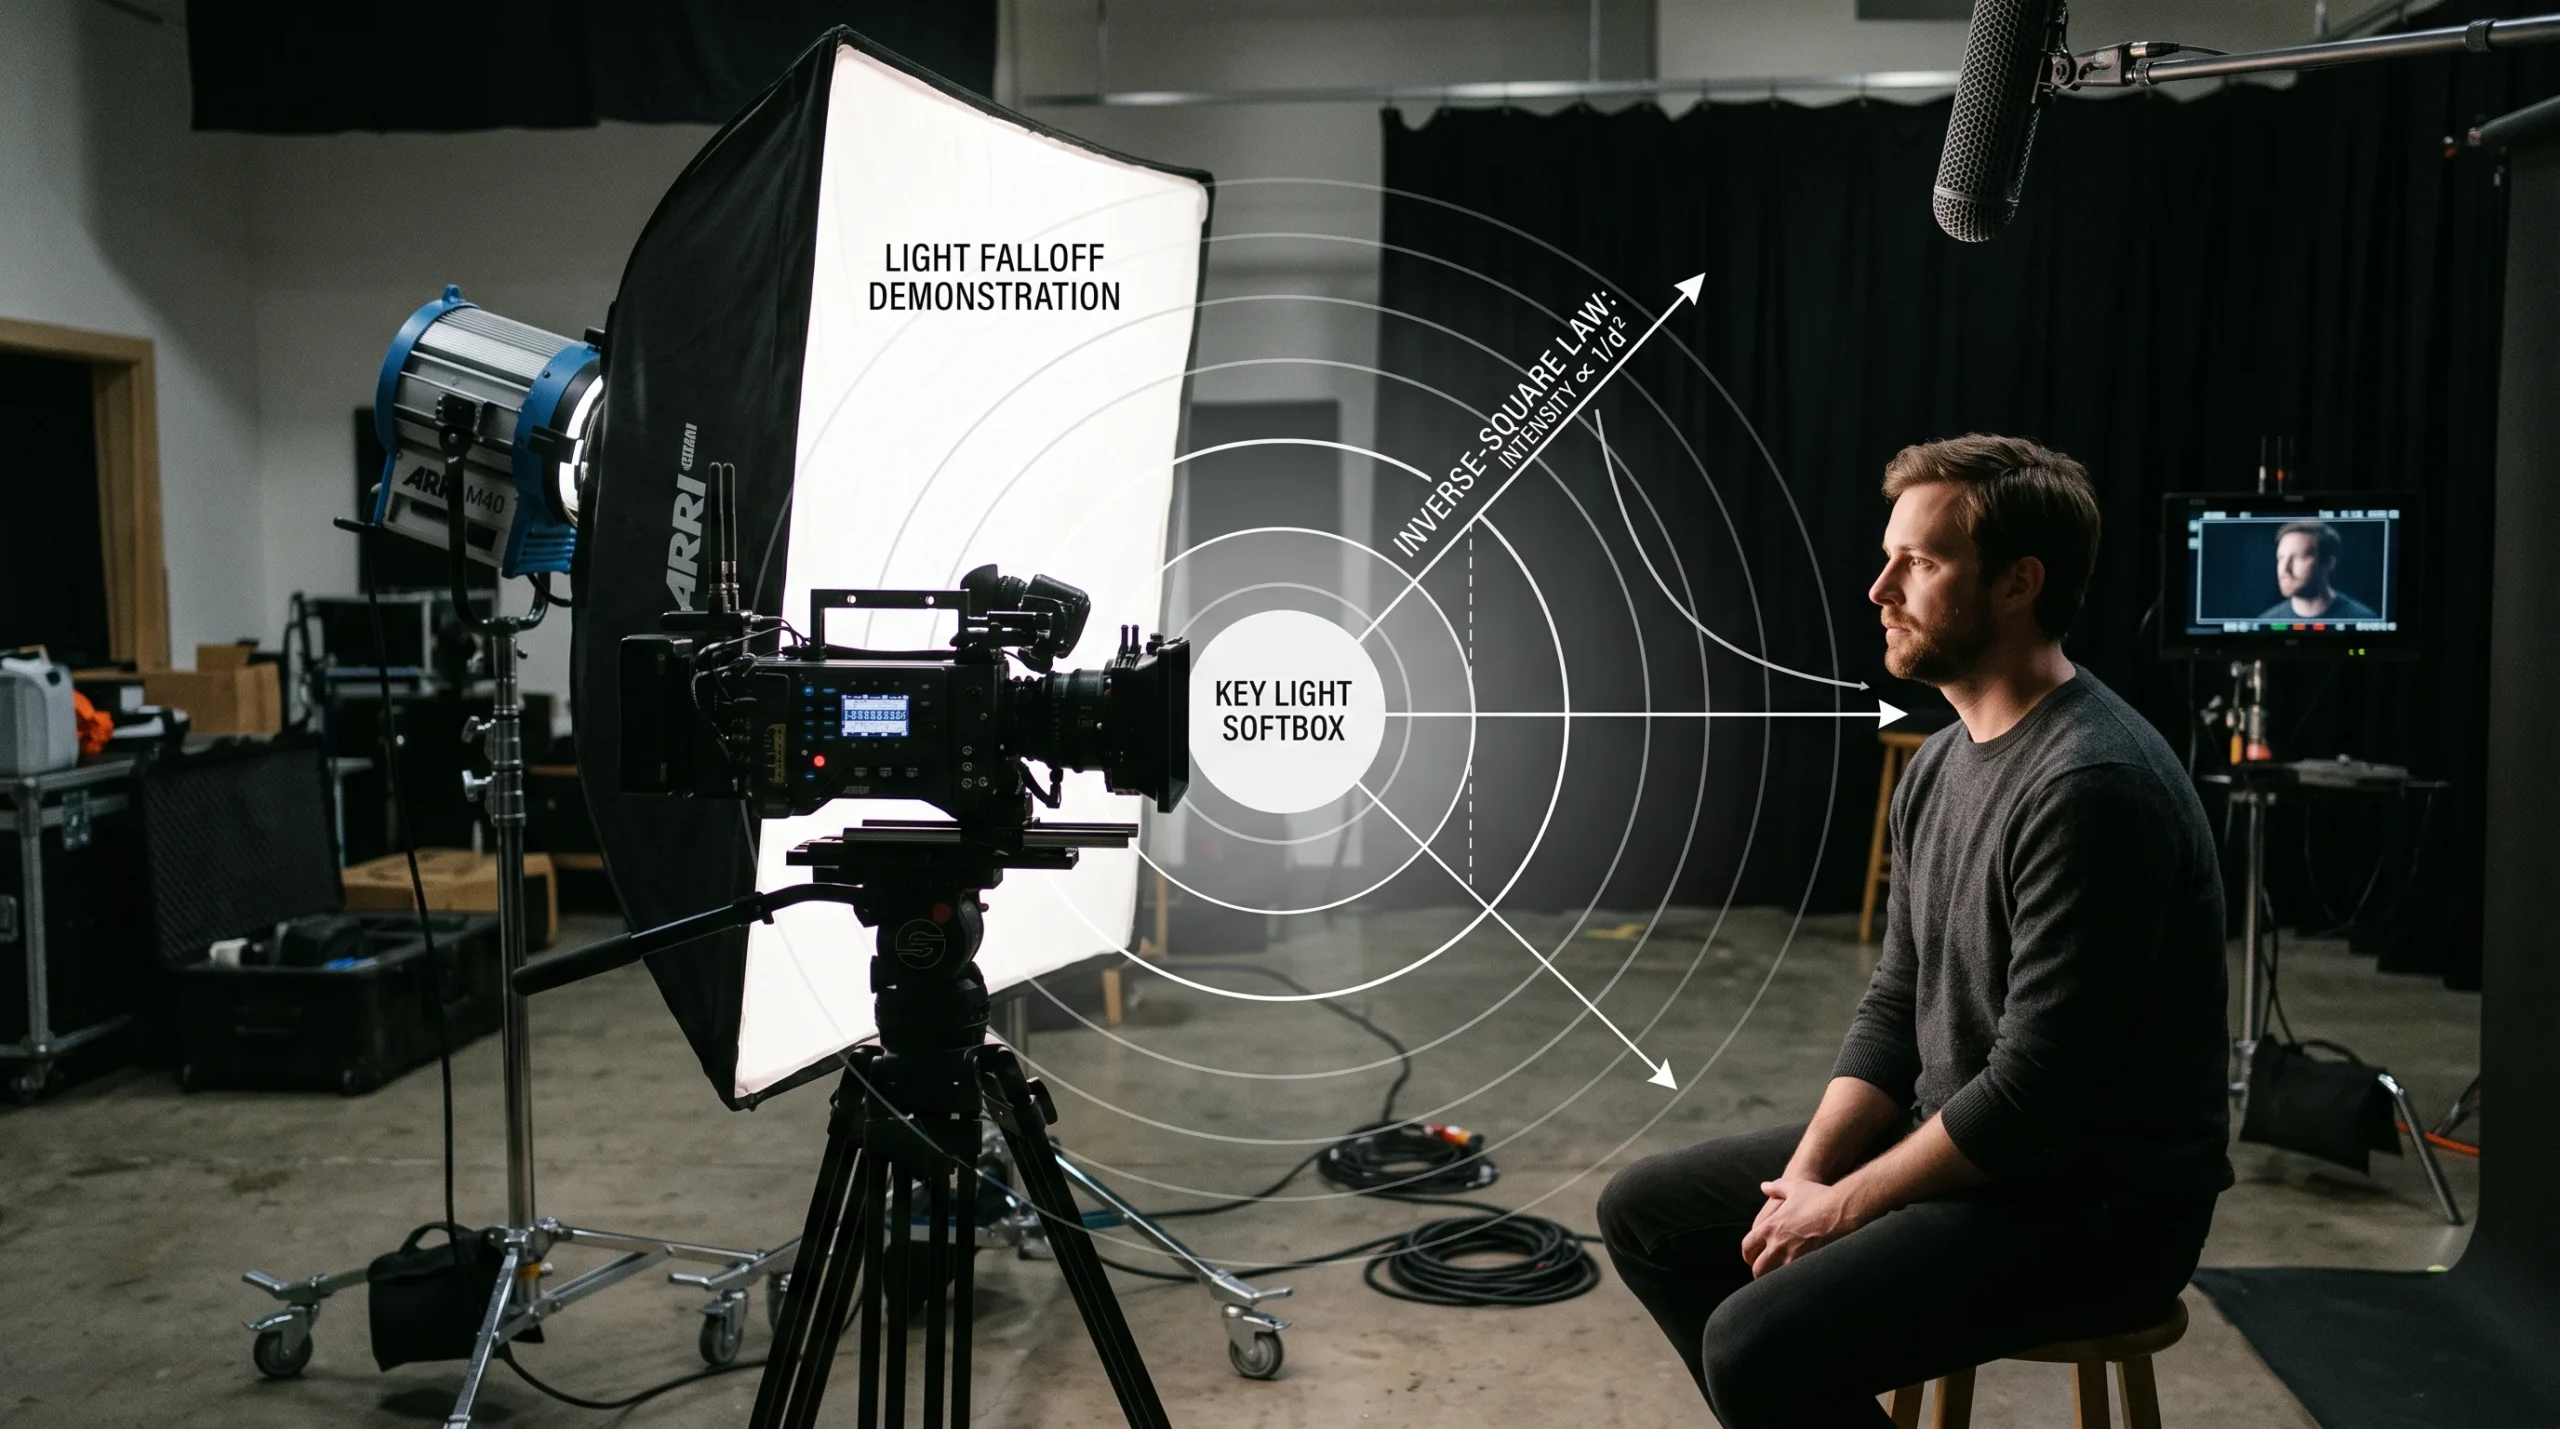
Are you pulling your hair out over persistent video noise and soft focus, even after dropping thousands of dollars on a full-frame camera and a fast lens? You crank your ISO to compensate for a dim room, only to watch your footage turn into a muddy, noisy mess during color grading.
The issue isn’t your camera sensor—it’s your fundamental misunderstanding of light attenuation. Before you go burning money on a new body, let’s fix the way you position your main light source using a core principle of optical physics.
The Physics Behind It: The Inverse-Square Law of Light
The primary culprit behind muddy shadows and sensor noise is light starvation. When your camera sensor doesn’t receive enough physical photons, it boosts signal gain (ISO), which amplifies electronic background noise alongside the visual signal.
To fix this without blowing out your highlights, you must master the Inverse-Square Law of Light.
Relative Intensity = 1 / (Distance)²
This fundamental law dictates that specified light intensity drops exponentially relative to the distance from the light source.
Why Distance Kills Your Exposure Faster Than You Think
When you double your distance from your key light (say, moving a softbox from 1 meter to 2 meters away), the light level doesn’t just cut in half. It drops to one-quarter ($\mathbf{1/2^2}$) of its original intensity. Move it to 3 meters, and you are left with just one-ninth ($\mathbf{1/3^2}$) of the light.
- 1 Meter Away: 100% Light Intensity (1/1²)
- 2 Meters Away: 25% Light Intensity (1/2²)
- 3 Meters Away: 11.1% Light Intensity (1/3²)
- 4 Meters Away: 6.25% Light Intensity (1/4²)
By keeping your softbox too far back to keep it “out of the shot,” you are throwing away up to 90% of your fixture’s output. Consequently, you force your camera to compensate via ISO amplification, introducing heavy chroma and luma noise into your image. Bringing a large softbox closer yields two immediate benefits: it vastly increases light intensity on your face and physically enlarges the relative size of the light source, giving you buttery-smooth, flattering diffusion.
Interactive Tool Placeholder
Inverse Square Law Lighting Simulator
Calculate illuminance drop-off and required placement for camera setups
Step-by-Step Troubleshooting: Dialing in Your Key Light Golden Distance
Follow this 3-step action plan to eliminate digital noise and maximize your lighting efficiency.
Step 1: Establish the “Golden Separation Distance”
Position your primary key light (a 120W–300W LED fixture equipped with a 35″ to 47″ softbox) as physically close to your subject as possible without breaching the camera frame.
- Aim for a target distance of 0.8 to 1.5 meters (2.6 to 5 feet).
- Angle the light 45 degrees to the side and 45 degrees down toward the subject.
- Pro Tip: Use a grid (egg crate) on your softbox to focus the intense wrap-around light directly on the subject while preventing bright spill onto your background.
Step 2: Lock Base Exposure Parameters
Set your camera settings to maximize sensor performance and control noise at the hardware level:
- Set shutter speed to double your framerate (e.g., 1/50s for 24fps).
- Set your lens aperture to its optimal sharpness zone (typically f/2.0 to f/2.8 for prime lenses).
- Lock your ISO to your camera’s Base ISO (e.g., ISO 100 or 800 depending on native dual-gain settings) to secure the highest dynamic range with zero electronic amplification noise.
Step 3: Match Light Intensity to Distance
Rather than adjusting ISO when your image looks dark, adjust the power dimmer on your LED fixture. Use the table below to adjust light output based on subject distance while keeping your camera locked at optimal settings:
| Softbox Distance | Relative Lux Intensity | Output Loss | Camera ISO Target | Recommended Action |
| 0.5 m / 1.6 ft | 400% (Baseline x4) | +2 Stops Bright | Base ISO (100–400) | Dim light to 25–35%; maximum softness |
| 1.0 m / 3.3 ft | 100% (Reference) | 0 Stops | Base ISO (100–400) | Ideal Setup: Set LED dimmer to 40–60% |
| 2.0 m / 6.6 ft | 25% | -2 Stops | ISO 1600–3200 | Set LED dimmer to 100%; noise begins to creep |
| 3.0 m / 9.8 ft | 11.1% | -3.17 Stops | ISO 6400+ | Unusable; severe noise, bring light closer |
Professional Hardware Considerations
Solving video noise isn’t about buying a $4,000 camera body; it’s about mastering light efficiency. While high-output LED panels and large parabolic softboxes are critical investments for clean footage, their value is entirely dependent on spatial geometry. Bringing a high-CRI 150W point-source light within one meter of your subject will routinely outperform a 500W fixture positioned across the room. Prioritize high-output COB LED lights with quiet active cooling and large-diameter diffusion, then leverage proximity to achieve clean, noise-free, cinematic imagery.
Master the physics of light, exposure, and optical composition in [Gear & Logic: Applied Physics and Mathematics], or calculate your studio setup distances in [Interactive Tools: Live Science & Engineering Calculators].